

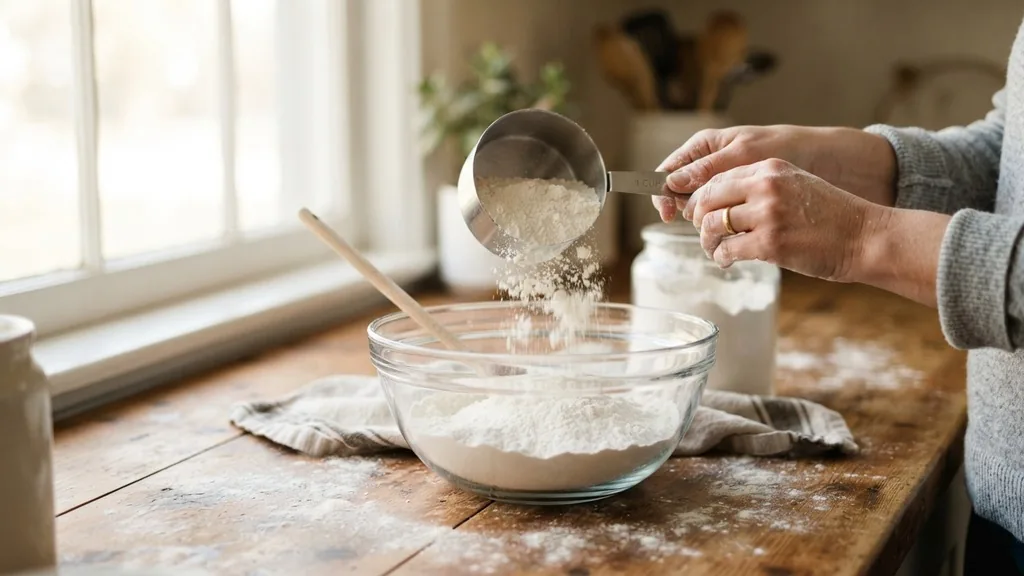
When you decide to make homemade edible cookie dough or no-bake treats, the most important step often overlooked is ensuring the raw flour is safe for consumption. Learning how to heat treat flour in microwave settings is a quick, effective, and accessible method for home bakers to eliminate the risk of foodborne illnesses. Raw flour is an agricultural product, meaning it is harvested in fields where it can come into contact with pathogens like E. coli or Salmonella.
Since flour is typically intended to be cooked at high temperatures in an oven, these bacteria are usually killed during the baking process. However, when you use it in raw recipes, that safety net disappears. By utilizing a microwave to bring the internal temperature of the flour to a safe level, you effectively neutralize these potential contaminants without needing to preheat a large oven.
Understanding the Necessity of Heat Treating Flour
The primary motivation for heat treating flour is food safety. Many people incorrectly assume that because flour is a dry, powdered substance, it cannot harbor dangerous organisms.
In reality, wheat is grown outdoors and processed in facilities that do not perform a “kill step” to eliminate pathogens. When you consume raw flour in cookie dough, cake batter, or dusting for truffles, you are ingesting it in its raw state.
Scientific studies conducted by the Centers for Disease Control and Prevention have repeatedly highlighted that raw dough and batter are common vehicles for foodborne illness. Unlike eggs, which many people now know to avoid consuming raw, flour is often overlooked. Heat treating is the process of applying enough thermal energy to the flour to destroy these bacteria.
When you heat treat flour in the microwave, you are essentially performing a rapid pasteurization process. This is crucial for anyone who wants to enjoy “raw” snacks without the associated health risks.
The process is straightforward, but it requires precision; you must ensure the entire volume of flour reaches a minimum internal temperature of 160°F (71°C). Anything less might leave pockets of bacteria alive, rendering the treatment ineffective.
How to Heat Treat Flour in Microwave Step-by-Step
If you are looking for the most efficient way to treat your ingredients, the microwave is often superior to the oven because it is faster and uses less electricity. To begin, you will need a microwave-safe bowl, a digital instant-read thermometer, and the flour required for your recipe.
First, place your flour into a large, microwave-safe glass or ceramic bowl. Do not pack the flour down; keep it loose to allow heat to penetrate evenly. Microwave the flour on high for 30-second intervals.
After each interval, remove the bowl and stir the flour thoroughly. Stirring is the most critical part of this process because microwaves do not heat evenly; they create “hot spots” and “cold spots.” By stirring, you redistribute the heat, ensuring that every grain of flour reaches the required temperature.
Use your digital thermometer to check the temperature of the flour at the center of the bowl after every stir. Continue this cycle until the entire batch consistently reads at least 160°F. Once the flour reaches this temperature, let it cool completely before using it in your recipe.
Using hot flour in a recipe with butter or chocolate chips will cause them to melt prematurely, ruining the texture of your final product. Patience during the cooling stage is just as important as the heating stage.
Comparing Heat Treatment Methods: Microwave vs. Oven
Home bakers often debate whether the microwave or the oven is the better tool for the job. While both methods effectively kill bacteria, they offer different benefits depending on your kitchen setup and the quantity of flour you need to process.
| Feature | Microwave Method | Oven Method |
|---|---|---|
| Speed | Very Fast (2-4 minutes) | Slow (10-15 minutes) |
| Energy Usage | Low | High (preheating required) |
| Consistency | Requires frequent stirring | More uniform heating |
| Best For | Small batches (1-2 cups) | Large batches (3+ cups) |
The microwave method is undeniably faster, making it the preferred choice for spontaneous cravings. However, if you are preparing a massive batch of edible cookie dough for a party, the oven might be more convenient. In an oven, you can spread the flour thin on a baking sheet, which allows for consistent heating without the need for constant vigilance.
If you choose the oven, bake the flour at 350°F (175°C) for about 5 to 10 minutes, again ensuring it reaches that 160°F threshold. Regardless of the method, the goal remains the same: ensuring the flour is safe to eat.
Common Mistakes When Heat Treating Flour
Even with a simple process, several common errors can compromise the safety of your ingredients. One of the most frequent mistakes is failing to use a thermometer. Many people guess when the flour is “done” by its smell or color, but this is highly unreliable.
Flour can look perfectly fine while still harboring pathogens. Always rely on a calibrated thermometer to confirm the temperature.
Another common mistake is overcrowding the bowl. If you try to heat treat a massive amount of flour in a small container, the heat will not penetrate the center effectively. This creates a safety risk where the outer edges of the flour are scorched while the center remains at room temperature.
Always work in manageable batches. If you need three cups of flour, treat them in two separate batches to ensure even heat distribution.
Finally, do not skip the cooling process. If you add hot, freshly microwaved flour to your sugar and butter mixture, you will alter the consistency of the fat.
This leads to a greasy, melted dough rather than the firm, scoopable texture of traditional edible cookie dough. Allowing the flour to return to room temperature is a mandatory step that ensures your baking project turns out exactly as intended.
Addressing Topical Gaps: Flour Types and Moisture Content
A common question that often goes unanswered in basic tutorials is whether different types of flour require different treatment times. All-purpose flour, cake flour, and even almond flour (which is technically a nut meal) all behave differently when exposed to microwave radiation. All-purpose flour is the most common, but it has a specific moisture content that affects how it heats.
If you are working with alternative flours like coconut or oat flour, be aware that these have different fat and moisture profiles. Coconut flour, for instance, is highly absorbent and can dry out very quickly in the microwave. When heat treating these alternative flours, you might need to shorten the intervals to 15 or 20 seconds rather than 30 to prevent the flour from burning or becoming overly toasted.
Furthermore, consider the “toasted” flavor profile. Heat treating flour will inherently change its taste slightly, giving it a nuttier, more toasted flavor. For cookies or doughs where you want a clean, vanilla-forward profile, you should be careful not to over-treat the flour.
Once it hits 160°F, stop immediately. Continuing to heat it will lead to a distinct “cooked” taste that may not be desirable in all recipes. If you find the toasted flavor too strong, try using a slightly lower power setting on your microwave, which will provide more control over the rate of heat increase.
Ensuring Safety and Quality in No-Bake Recipes
Once you have successfully mastered how to heat treat flour in microwave appliances, you open up a world of culinary possibilities. You can safely create edible cookie dough, raw cake batter truffles, or even raw flour-based thickeners for cold desserts.
However, safety does not end at the flour. When making no-bake treats, remember that other ingredients can also pose risks if they are not handled correctly.
For example, if your recipe calls for dairy, ensure you use pasteurized products. If you are using mix-ins like raw nuts or seeds, these can also carry their own risk of contamination.
The beauty of heat treating your own flour is that it gives you control over the most significant source of potential pathogens in raw dough. By taking this simple step, you are practicing proactive kitchen safety.
Always store your heat-treated flour in an airtight container if you aren’t using it immediately. Moisture from the air can re-introduce contaminants or lead to clumping, which makes it harder to incorporate into your recipes later. If you treat a large batch ahead of time, label the container with the date.
While heat-treated flour is technically shelf-stable, it is best used within a few weeks to ensure the freshest taste. By integrating this process into your baking routine, you transform potentially risky raw ingredients into safe, delicious components for your favorite no-bake desserts.
Frequently Asked Questions
Is it safe to eat flour after heat treating it in the microwave?
Yes, it is safe, provided you have used a thermometer to ensure the flour reached an internal temperature of at least 160°F (71°C) throughout the entire batch. This temperature is sufficient to kill common pathogens like Salmonella and E. coli that may be present in raw flour.
How do I know if the flour is treated properly without a thermometer?
It is strongly discouraged to heat treat flour without a thermometer, as you cannot visually confirm the internal temperature. If you must proceed without one, you are guessing, which is not safe. Investing in an inexpensive digital thermometer is the only way to guarantee your flour is safe.
Does heat treating flour change the way it works in a recipe?
Heat treating can slightly change the texture and flavor, often making the flour taste a bit nuttier or toasted. Because the heat can evaporate some moisture, you may need to add a tiny splash of extra liquid to your recipe if the dough feels too dry or crumbly after mixing.
Can I heat treat flour in the microwave for regular baked cookies?
It is unnecessary to heat treat flour for cookies that you intend to bake in an oven. The heat from your oven will naturally exceed 160°F during the baking process, effectively killing any bacteria. Heat treating is only required for recipes that remain raw, such as edible cookie dough.


